zabbix监控mysql服务
zabbix不仅可以监控主机,主机上的应用也是可以监控的。
1. 下载MySQL,设置开机自启,初始化数据库。
[root@zabbix3 yum.repos.d]# yum install mysql-common.x86_64 mysql-devel.x86_64 mysql-errmsg.x86_64 mysql-libs.x86_64 mysql-server.x86_64 mysql.x86_64 -y
[root@zabbix3 yum.repos.d]# systemctl enable --now mysqld
[root@zabbix3 yum.repos.d]# mysql_secure_installation
Securing the MySQL server deployment.
Connecting to MySQL using a blank password.
VALIDATE PASSWORD COMPONENT can be used to test passwords
and improve security. It checks the strength of password

查看服务是否开启
[root@zabbix3 yum.repos.d]# netstat -antlp | grep 3306
tcp 0 0 127.0.0.1:38768 127.0.0.1:3306 TIME_WAIT -
tcp 0 0 127.0.0.1:38766 127.0.0.1:3306 TIME_WAIT -
tcp6 0 0 :::33060 :::* LISTEN 58140/mysqld
tcp6 0 0 :::3306
2. 到zabbix前端查看监控MySQL都需要那些配置。
2.1 进到配置==>模板==>搜索MySQL模板。
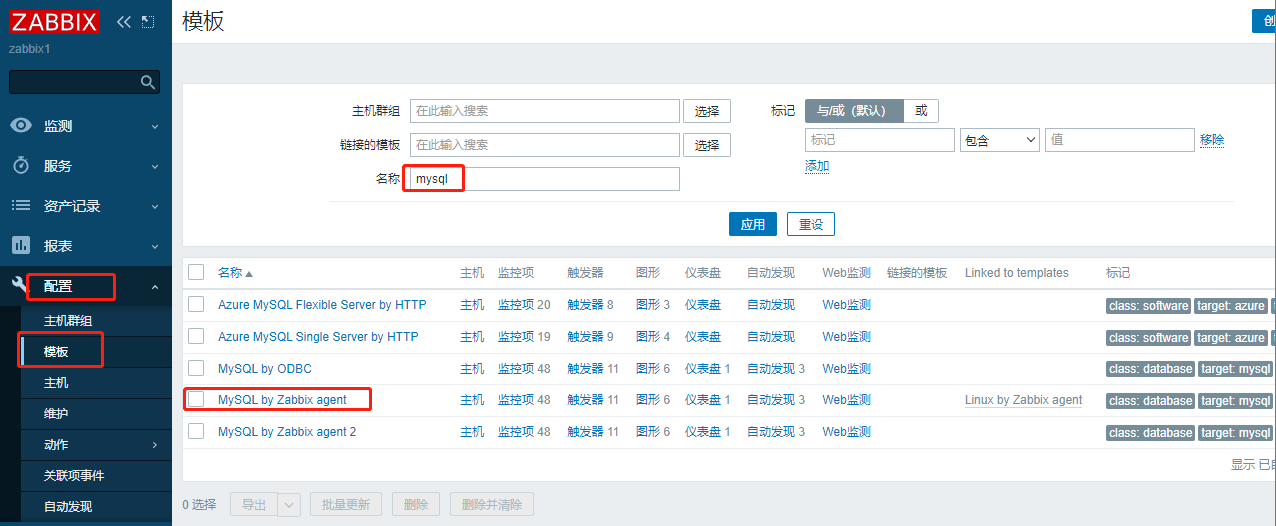
2.2 点击MySQL by Zabbix agenth 查看监控MySQL都需要那些配置。
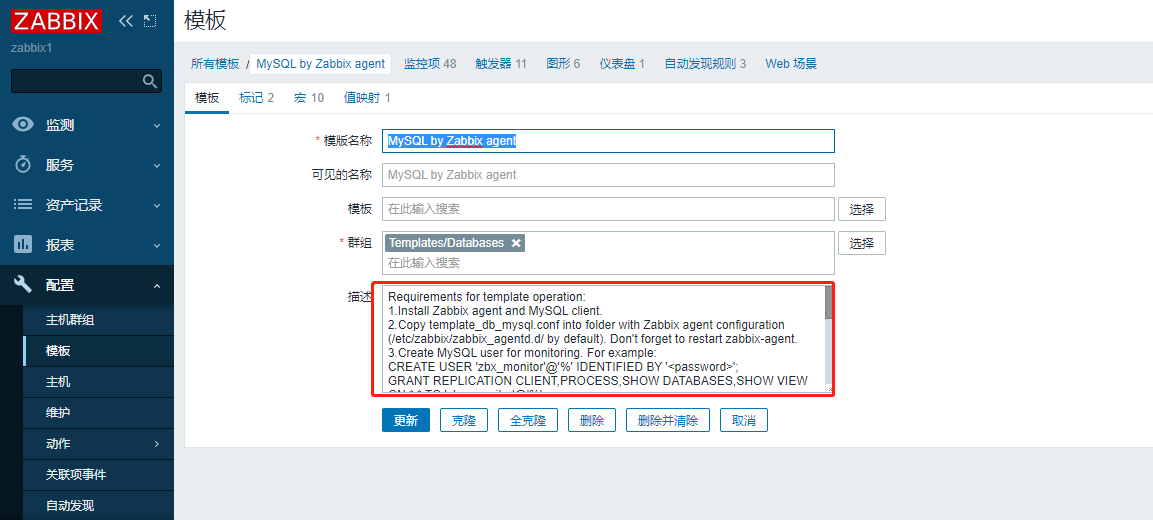
[root@zabbix3 ~ ]# cp /usr/share/doc/zabbix-agent/userparameter_mysql.conf /etc/zabbix/zabbix_agentd.d/
2.2.2 登录mysql添加用户和密码。
[root@zabbix3 yum.repos.d]# mysql -p
Enter password:
Welcome to the MySQL monitor. Commands end with ; or \g.
Your MySQL connection id is 10
Server version: 8.0.26 Source distribution

Copyright (c) 2000, 2021, Oracle and/or its affiliates.

Oracle is a registered trademark of Oracle Corporation and/or its
affiliates. Other names may be trademarks of their respective
owners.

Type 'help;' or '\h' for help. Type '\c' to clear the current input statement.

mysql> CREATE USER 'zbx_monitor'@'%' IDENTIFIED BY 'Yinshuai+001';
Query OK, 0 rows affected (0.00 sec)

mysql> GRANT REPLICATION CLIENT,PROCESS,SHOW DATABASES,SHOW VIEW ON *.* TO 'zbx_monitor'@'%';
Query OK, 0 rows affected (0.00 sec)

mysql> quit
Bye
2.2.3 查看复制到/etc/zabbix/zabbix_agentd.d/下的userparameter_mysql.conf文件。
[root@zabbix3 ~ ]# cat /etc/zabbix/zabbix_agentd.d/userparameter_mysql.conf
#template_db_mysql.conf created by Zabbix for "Template DB MySQL" and Zabbix 4.2
#For OS Linux: You need create .my.cnf in zabbix-agent home directory (/var/lib/zabbix by default)
#For OS Windows: You need add PATH to mysql and mysqladmin and create my.cnf in %WINDIR%\my.cnf,C:\my.cnf,BASEDIR\my.cnf https://dev.mysql.com/doc/refman/5.7/en/option-files.html
#The file must have three strings:
#[client]
#user=zbx_monitor
#password=<password>
#
UserParameter=mysql.ping[*], mysqladmin -h"$1" -P"$2" ping
UserParameter=mysql.get_status_variables[*], mysql -h"$1" -P"$2" -sNX -e "show global status"
UserParameter=mysql.version[*], mysqladmin -s -h"$1" -P"$2" version
UserParameter=mysql.db.discovery[*], mysql -h"$1" -P"$2" -sN -e "show databases"
UserParameter=mysql.dbsize[*], mysql -h"$1" -P"$2" -sN -e "SELECT SUM(DATA_LENGTH + INDEX_LENGTH) FROM INFORMATION_SCHEMA.TABLES WHERE TABLE_SCHEMA='$3'"
UserParameter=mysql.replication.discovery[*], mysql -h"$1" -P"$2" -sNX -e "show slave status"
UserParameter=mysql.slave_status[*], mysql -h"$1" -P"$2" -sNX -e "show slave status"
2.2.4 在/var/lib/建立zabbix目录,在zabbix目录下编辑文件.my.cnf文件,内容是数据库的用户和密码。
[root@zabbix3 ~ ]# mkdir /var/lib/zabbix
[root@zabbix3 ~ ]# vim /var/lib/zabbix/.my.cnf
[root@zabbix3 ~ ]# cat /var/lib/zabbix/.my.cnf
[client]
user=zbx_monitor
password=Yinshuai+001
2.2.5 重启zabbox-agent服务。
[root@zabbix3 ~ ]# systemctl restart zabbix-agent.service
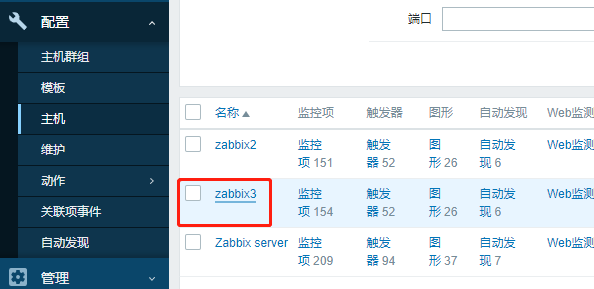
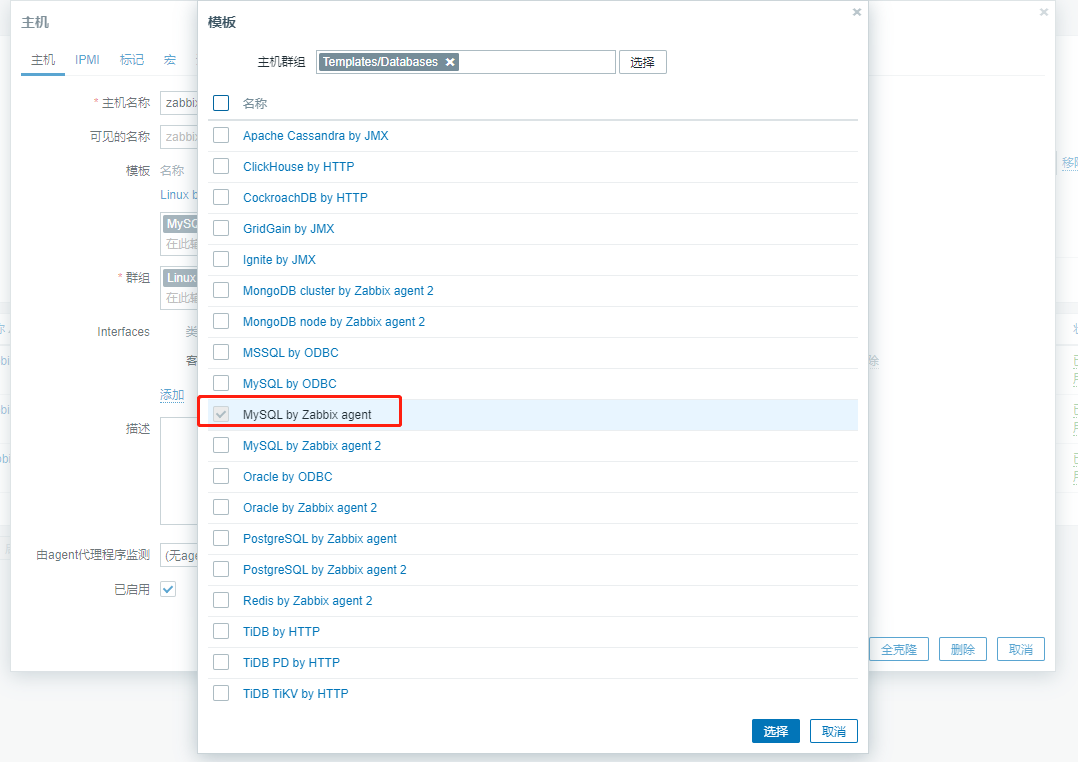
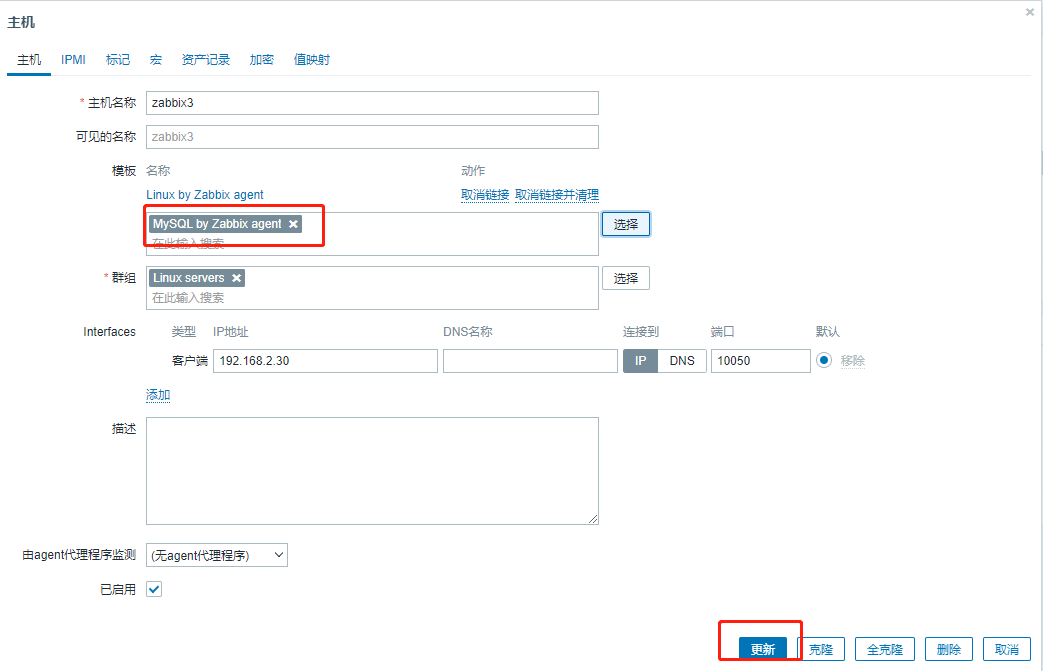
3. 在zabbix前端给zabbix3添加mysql模板。
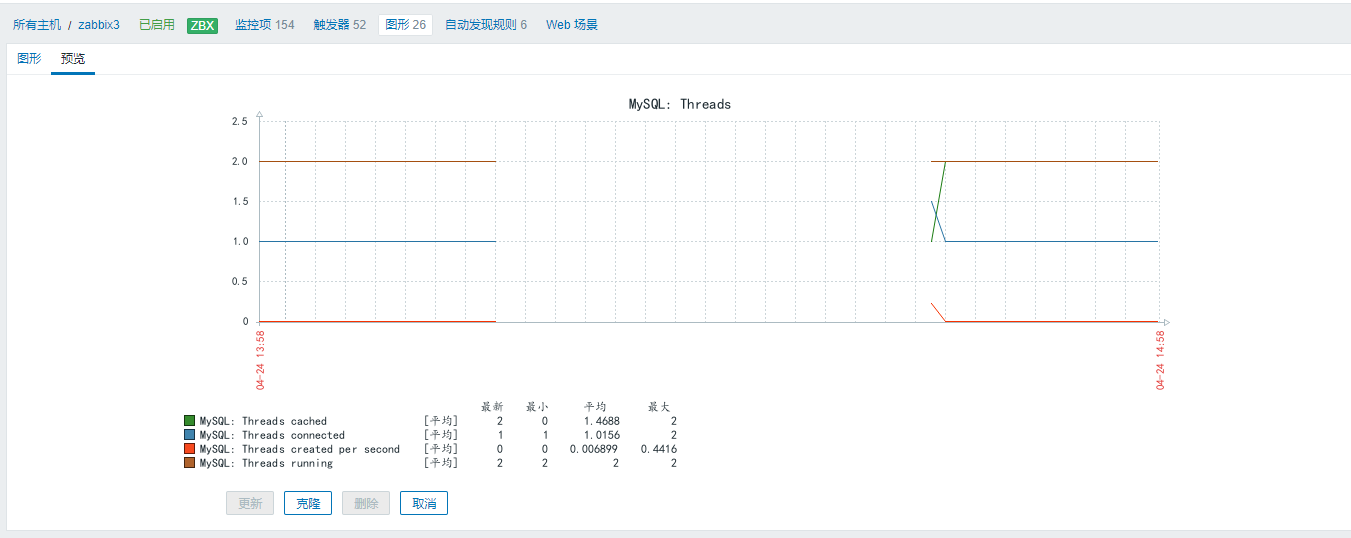
4. 查看监控的图形化mysql数据。
![]()

5. 可以看到已经监控到了mysql服务。