自动化运维平台-spug
介绍
Spug
面向中小型企业设计的轻量级无 Agent 的自动化运维平台,整合了主机管理、主机批量执行、主机在线终端、文件在线上传下载、应用发布部署、在线任务计划、配置中心、监控、报警等一系列功能。
特性
- 批量执行: 主机命令在线批量执行
- 在线终端: 主机支持浏览器在线终端登录
- 文件管理: 主机文件在线上传下载
- 任务计划: 灵活的在线任务计划
- 发布部署: 支持自定义发布部署流程
- 配置中心: 支持 KV、文本、json 等格式的配置
- 监控中心: 支持站点、端口、进程、自定义等监控
- 报警中心: 支持短信、邮件、钉钉、微信等报警方式
- 优雅美观: 基于 Ant Design 的 UI 界面
- 开源免费: 前后端代码完全开源
官网:https://spug.cc
git地址:https://github.com/openspug/spug
Docker安装
依赖环境
- Docker
- 现代浏览器
安装步骤
以下安装步骤使用
Centos7.x
操作系统。
1. 安装docker
[root@vm ~]# yum-config-manager --add-repo https://download.docker.com/linux/centos/docker-ce.repo
Loaded plugins: fastestmirror, langpacks
adding repo from: https://download.docker.com/linux/centos/docker-ce.repo
grabbing file https://download.docker.com/linux/centos/docker-ce.repo to /etc/yum.repos.d/docker-ce.repo
repo saved to /etc/yum.repos.d/docker-ce.repo

[root@vm ~]#  yum install docker-ce docker-compose-plugin
Loaded plugins: fastestmirror, langpacks
Loading mirror speeds from cached hostfile
* base: mirrors.aliyun.com
* epel: d2lzkl7pfhq30w.cloudfront.net
* extras: mirrors.aliyun.com
* updates: mirrors.aliyun.com
Resolving Dependencies
There are unfinished transactions remaining. You might consider running yum-complete-transaction, or "yum-complete-transaction --cleanup-only" and "yum history redo last", first to finish them. If those don't work you'll have to try removing/installing packages by hand (maybe package-cleanup can help).
--> Running transaction check
---> Package docker-ce.x86_64 3:24.0.5-1.el7 will be installed
--> Processing Dependency: docker-ce-rootless-extras for package: 3:docker-ce-24.0.5-1.el7.x86_64
---> Package docker-compose-plugin.x86_64 0:2.19.1-1.el7 will be updated
.......

[root@vm ~]#  systemctl enable --now docker
Created symlink from /etc/systemd/system/multi-user.target.wants/docker.service to /usr/lib/systemd/system/docker.service.
2. 创建docker-compose.yml
[root@vm ~]# mkdir docker
[root@vm ~]# cd docker/
[root@vm docker]# vim docker-compose.yml

version: "3.3"
services:
db:
image: mariadb:10.8.2
container_name: spug-db
restart: always
command: --port 3306 --character-set-server=utf8mb4 --collation-server=utf8mb4_unicode_ci
volumes:
- /data/spug/mysql:/var/lib/mysql
environment:
- MYSQL_DATABASE=spug
- MYSQL_USER=spug
- MYSQL_PASSWORD=spug.cc
- MYSQL_ROOT_PASSWORD=spug.cc
spug:
image: openspug/spug-service
container_name: spug
privileged: true
restart: always
volumes:
- /data/spug/service:/data/spug
- /data/spug/repos:/data/repos
ports:
# 如果80端口被占用可替换为其他端口,例如: - "8000:80"
- "80:80"
environment:
- MYSQL_DATABASE=spug
- MYSQL_USER=spug
- MYSQL_PASSWORD=spug.cc
- MYSQL_HOST=db
- MYSQL_PORT=3306
depends_on:
- db
3. 启动容器
[root@vm docker]# docker compose up -d
[+] Running 27/27
✔ db 11 layers [⣿⣿⣿⣿⣿⣿⣿⣿⣿⣿⣿] 0B/0B Pulled 101.0s
✔ 08c01a0ec47e Pull complete 24.5s
✔ a2bcb14c13a1 Pull complete 24.5s
✔ 29c56760f879 Pull complete 24.8s
✔ a95000a218fc Pull complete 25.1s
✔ a765d76e68d9 Pull complete 25.1s
✔ c6945738f085 Pull complete 26.1s
✔ 62787b7c58c5 Pull complete 26.1s
✔ 85ee39c28fa6 Pull complete 26.2s
✔ bee45abd643a Pull complete 95.8s
✔ b0f20114a997 Pull complete 95.8s
✔ f59b42092777 Pull complete 95.9s
✔ spug 14 layers [⣿⣿⣿⣿⣿⣿⣿⣿⣿⣿⣿⣿⣿⣿] 0B/0B Pulled 197.2s
✔ 2d473b07cdd5 Pull complete 168.0s
✔ e5749d854334 Pull complete 182.4s
✔ 35ebc86b468a Pull complete 183.0s
✔ 4ab674ac13d9 Pull complete 191.8s
✔ ab7af5206e5a Pull complete 191.8s
✔ 57b9da7c1c08 Pull complete 191.8s
✔ 72b815b41e64 Pull complete 191.9s
✔ d0fe2fbb4abc Pull complete 191.9s
✔ fd1262276f7c Pull complete 191.9s
✔ e933e449913c Pull complete 191.9s
✔ 00264762357b Pull complete 191.9s
✔ ea7690fb9f26 Pull complete 192.0s
✔ 22f2d0bd0cce Pull complete 192.0s
✔ e232bf98c91c Pull complete 192.1s
[+] Running 3/3
✔ Network docker_default Created 0.1s
✔ Container spug-db Started 1.7s
✔ Container spug Started 1.4s
4. 初始化
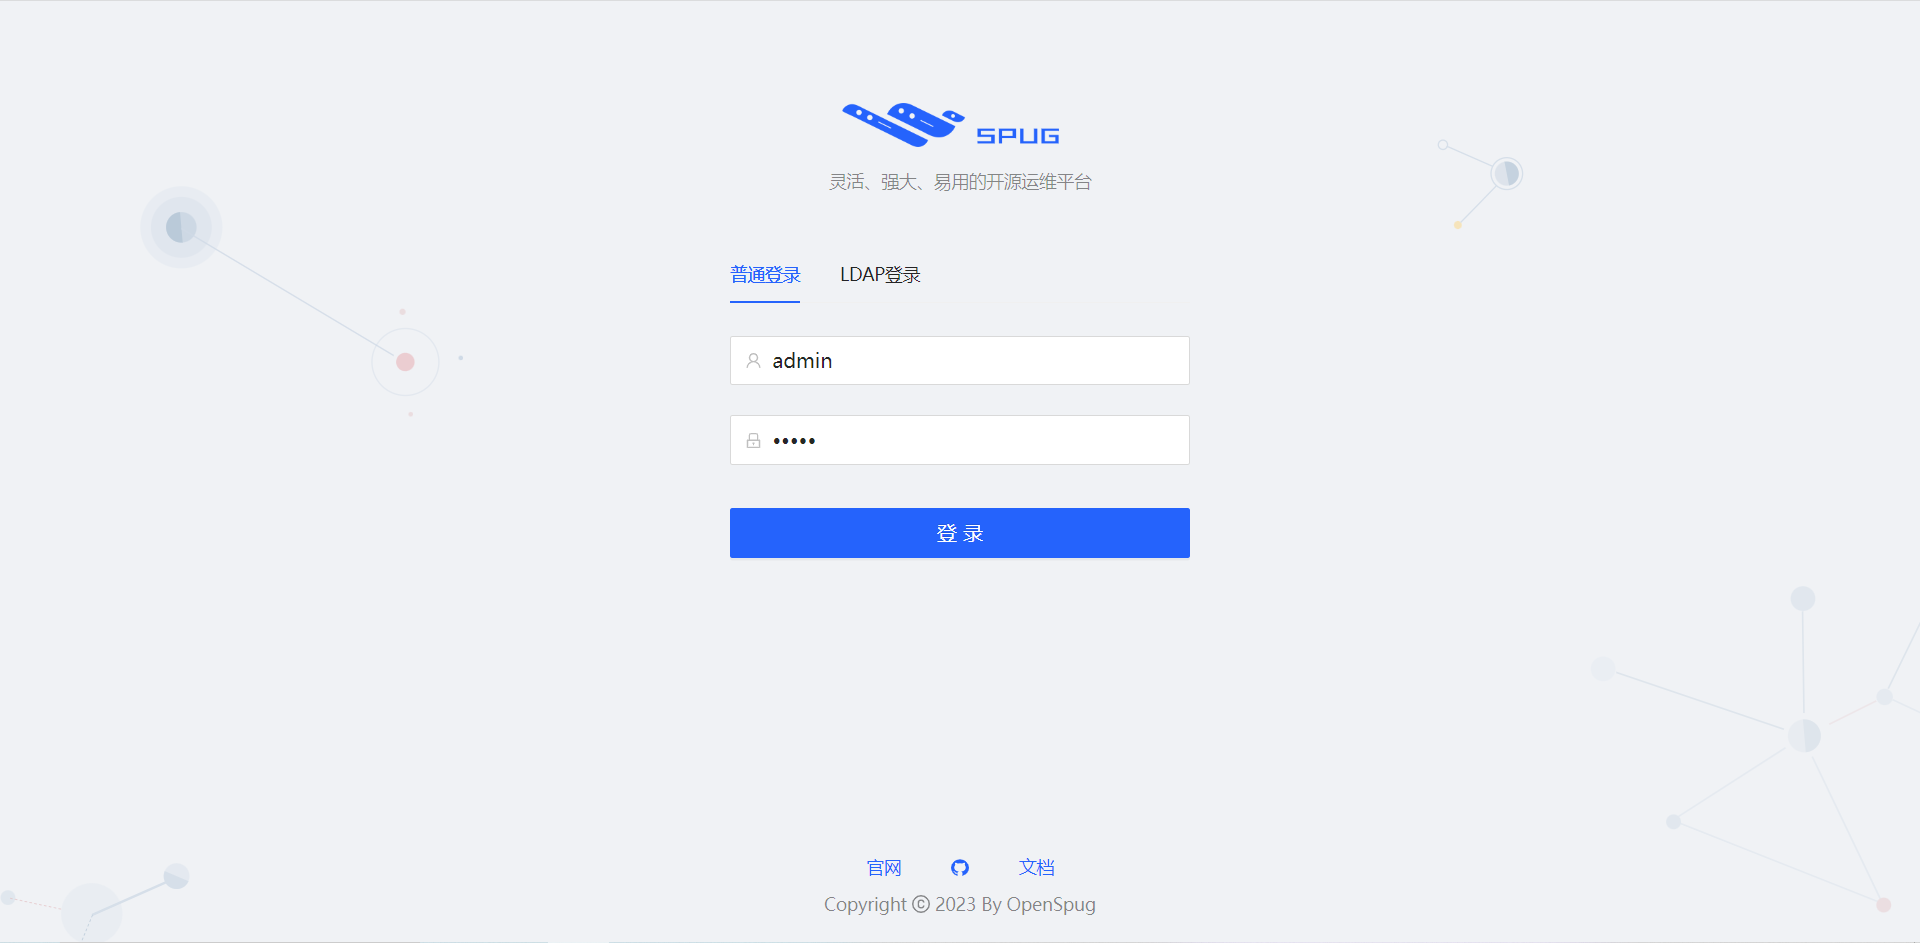
以下操作会创建一个用户名为 admin 密码为 admin 的管理员账户,可自行替换管理员账户/密码。
[root@vm docker]# docker exec spug init_spug admin admin
Migrations for 'account':
data/spug/spug_api/apps/account/migrations/0001_initial.py
- Create model History
- Create model Role
- Create model User
- Add field created_by to role
Migrations for 'alarm':
data/spug/spug_api/apps/alarm/migrations/0001_initial.py
- Create model Alarm
- Create model Group
- Create model Contact
Migrations for 'config':
data/spug/spug_api/apps/config/migrations/0001_initial.py
- Create model Service
- Create model Environment
- Create model ConfigHistory
- Create model Config
Migrations for 'exec':
data/spug/spug_api/apps/exec/migrations/0001_initial.py
- Create model Transfer
- Create model ExecTemplate
- Create model ExecHistory
Migrations for 'home':
data/spug/spug_api/apps/home/migrations/0001_initial.py
- Create model Navigation
- Create model Notice
Migrations for 'host':
data/spug/spug_api/apps/host/migrations/0001_initial.py
- Create model Host
- Create model HostExtend
- Create model Group
Migrations for 'monitor':
data/spug/spug_api/apps/monitor/migrations/0001_initial.py
- Create model Detection
Migrations for 'notify':
data/spug/spug_api/apps/notify/migrations/0001_initial.py
- Create model Notify
Migrations for 'schedule':
data/spug/spug_api/apps/schedule/migrations/0001_initial.py
- Create model History
- Create model Task
Migrations for 'setting':
data/spug/spug_api/apps/setting/migrations/0001_initial.py
- Create model Setting
- Create model UserSetting
Migrations for 'app':
data/spug/spug_api/apps/app/migrations/0001_initial.py
- Create model App
- Create model Deploy
- Create model DeployExtend1
- Create model DeployExtend2
Migrations for 'repository':
data/spug/spug_api/apps/repository/migrations/0001_initial.py
- Create model Repository
Migrations for 'deploy':
data/spug/spug_api/apps/deploy/migrations/0001_initial.py
- Create model DeployRequest
Operations to perform:
Apply all migrations: account, alarm, app, config, deploy, exec, home, host, monitor, notify, repository, schedule, setting
Running migrations:
Applying account.0001_initial... OK
Applying alarm.0001_initial... OK
Applying config.0001_initial... OK
Applying app.0001_initial... OK
Applying repository.0001_initial... OK
Applying deploy.0001_initial... OK
Applying exec.0001_initial... OK
Applying home.0001_initial... OK
Applying host.0001_initial... OK
Applying monitor.0001_initial... OK
Applying notify.0001_initial... OK
Applying schedule.0001_initial... OK
Applying setting.0001_initial... OK
初始化/更新成功
创建用户成功
5. 访问测试
在浏览器中输入
http://IP:80
访问(默认账户密码在第4步初始化时设置)。
5.1 添加主机

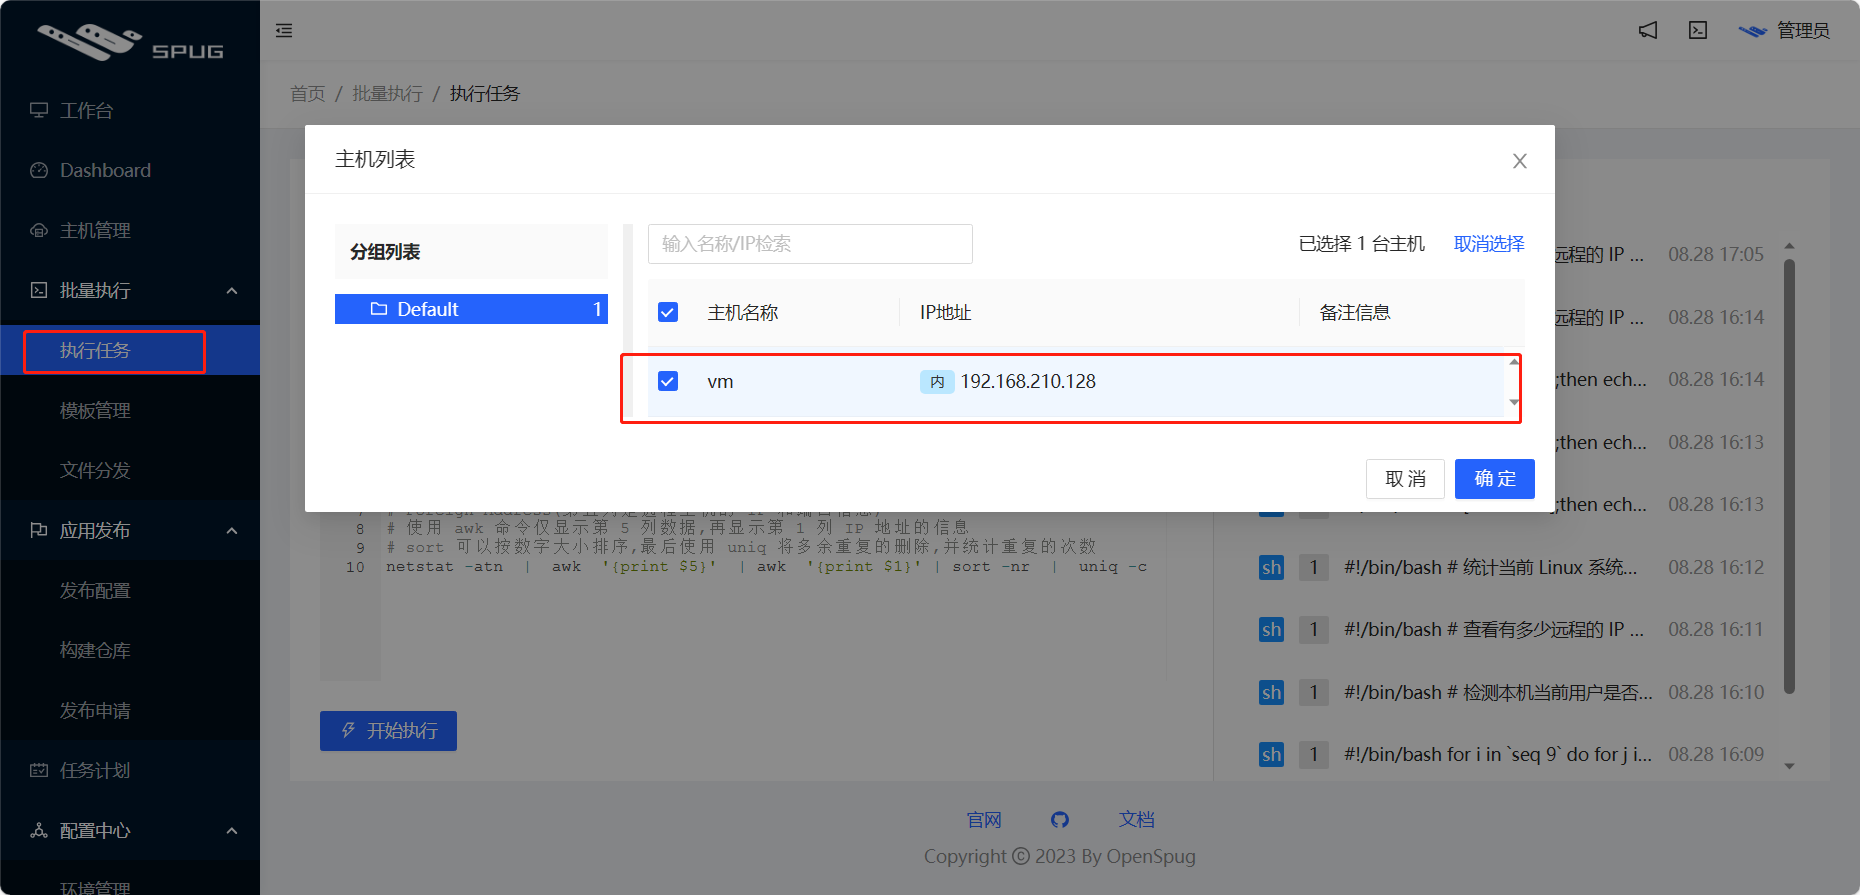
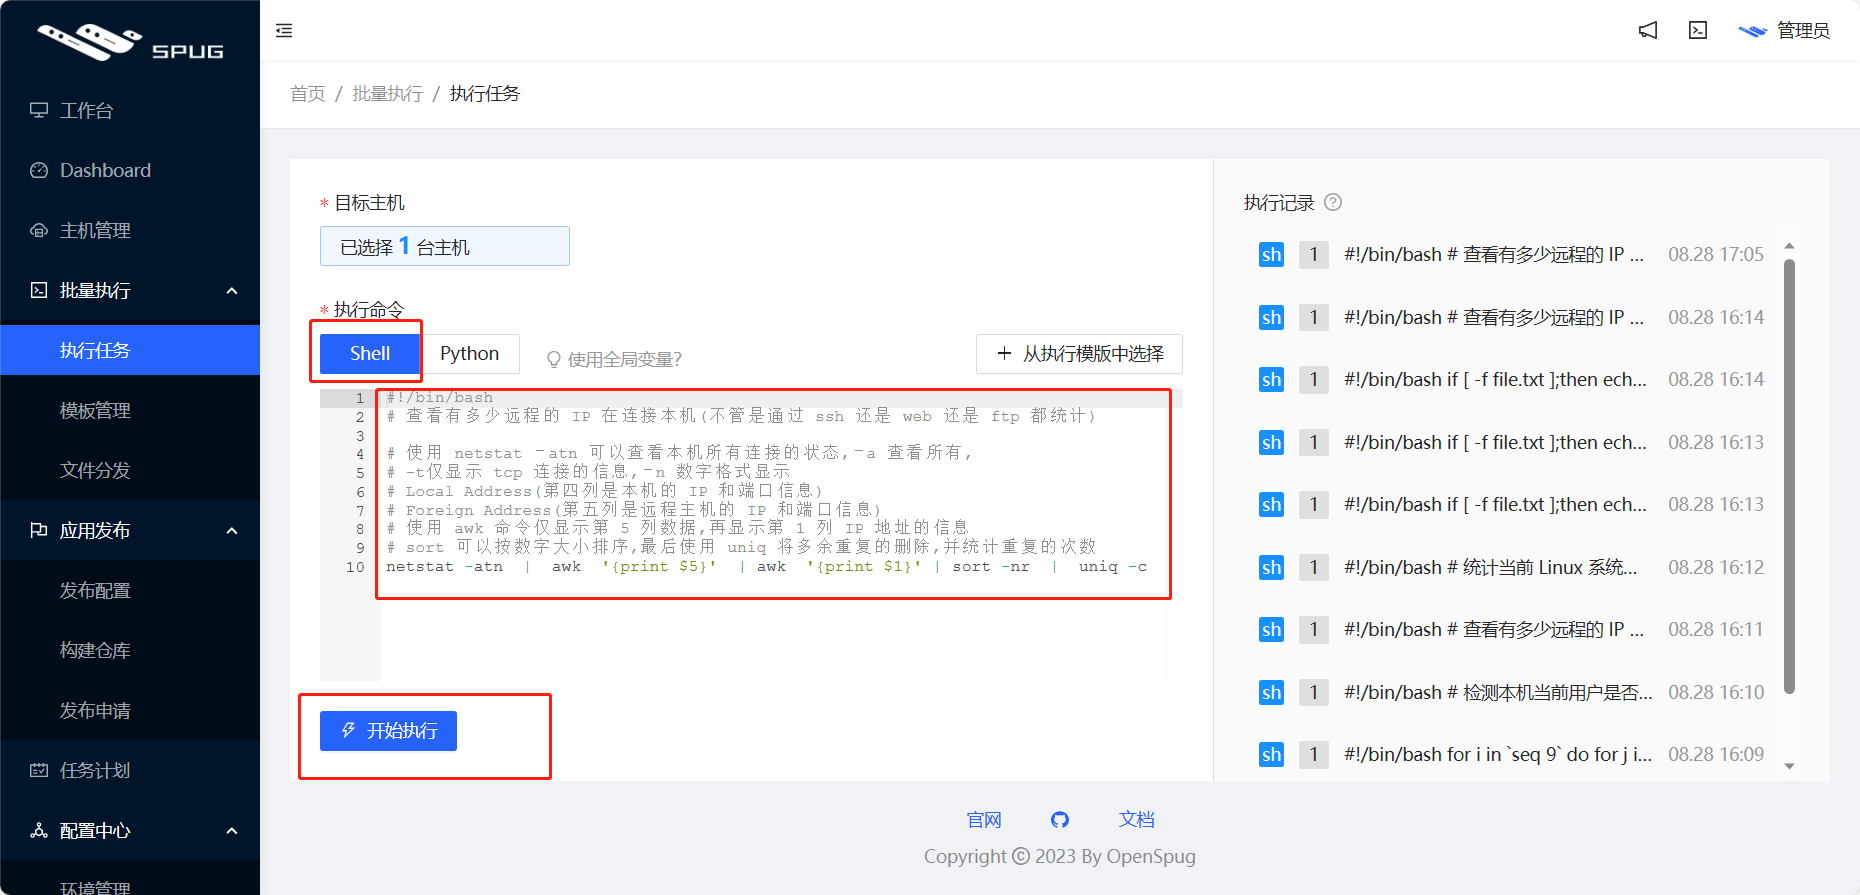
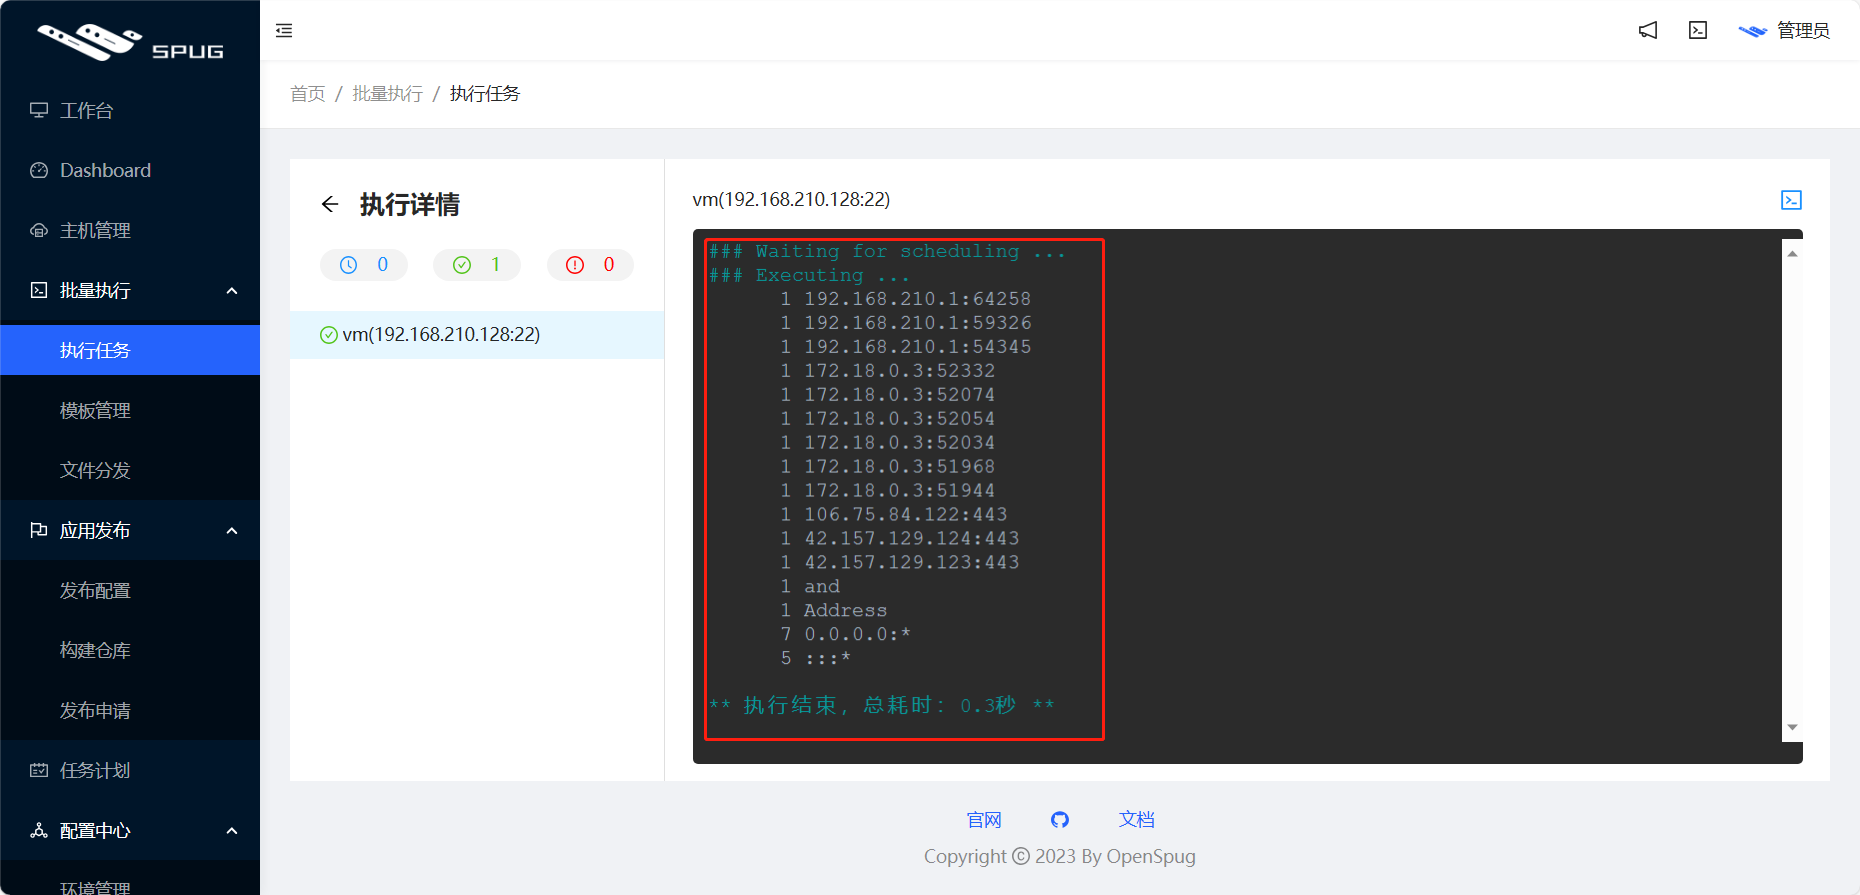
5.2 执行任务
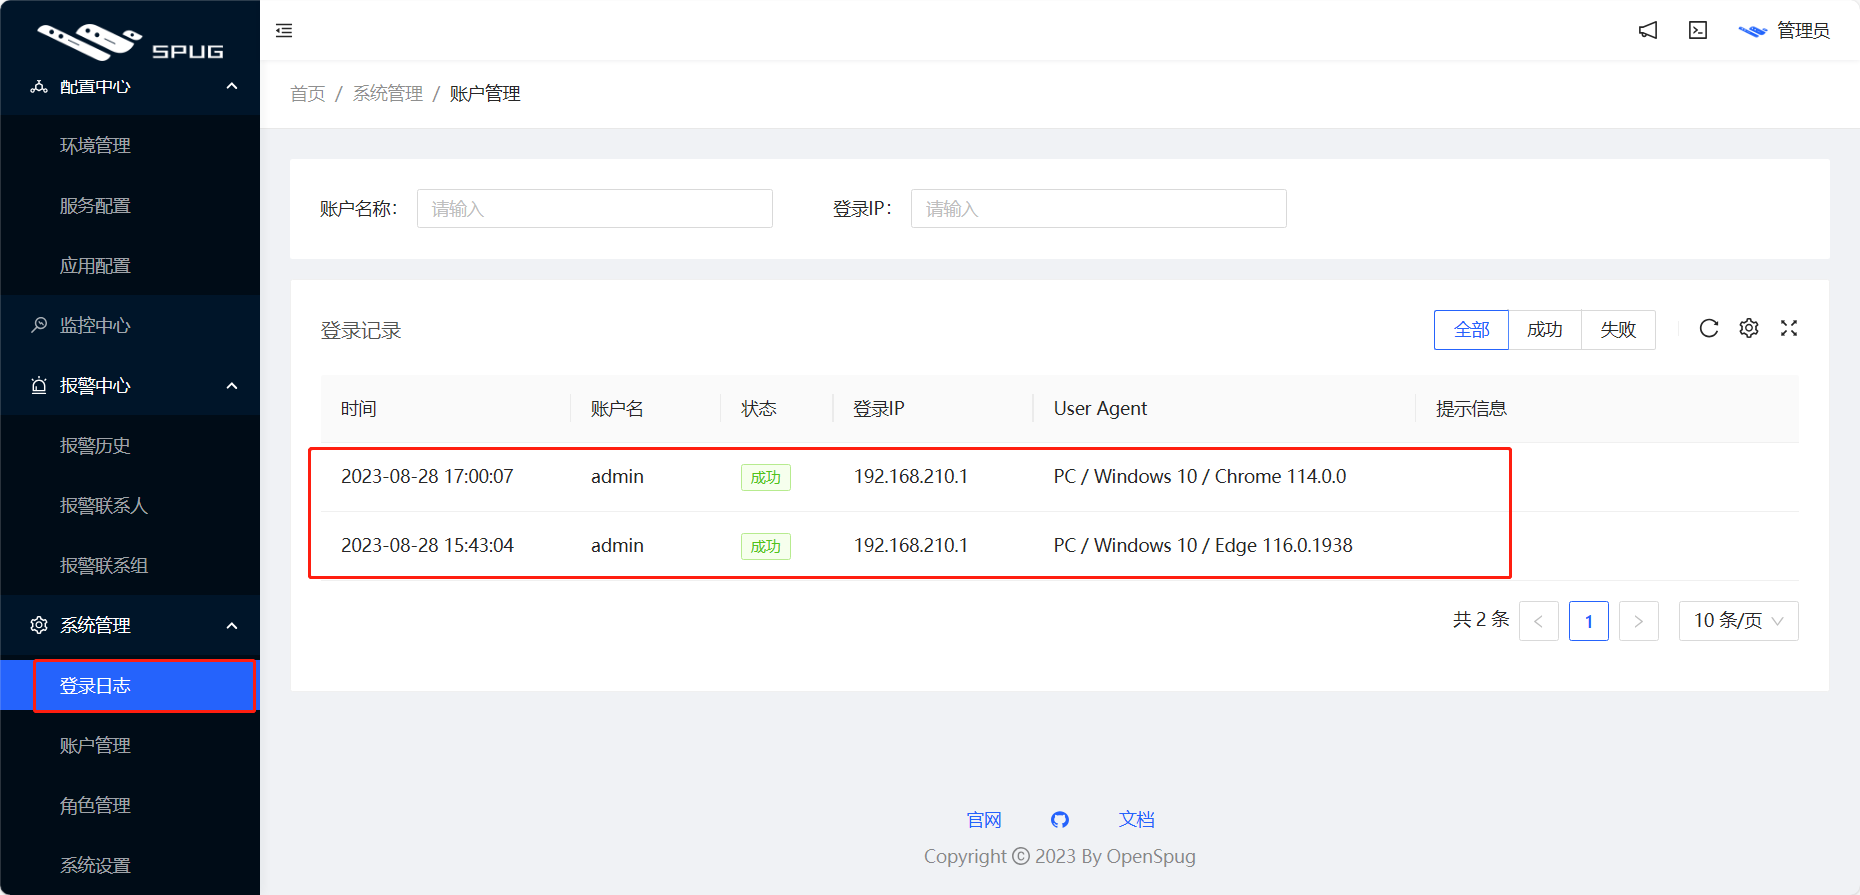
5.3 登录日志